There are two options available when using a PDF splitter tool. You can either extract a specific page or split every page into individual files. This guide will demonstrate both options using the same 2-page example. Open the tool below to follow along.
In our example, we have two numbered image files for study notes on A4. By entering ‘2’ into the Pages box we have a single page PDF with the second page of the original source. If we leave this box blank we will receive a zip file with two single page PDFs. We have downloaded both files to view the results.
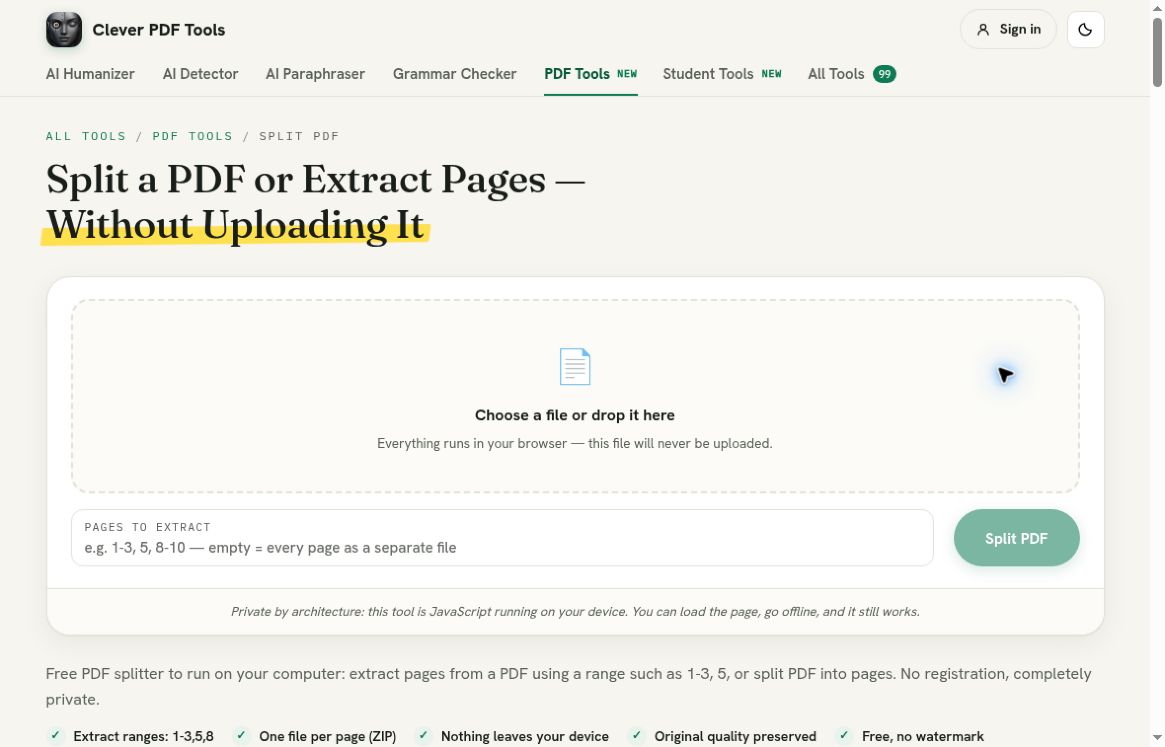
Screenshot of the first screen of the Split PDF tool. Includes an Add Files option, Pages to extract box and Split PDF button.
Before choosing a file to extract or split, decide which option you need. If you need to extract a section to attach to an email having a single PDF with the selected pages is usually easier. If you need individual pages to organise, this option may be more suitable. Whichever option you go for, you will still have the original packet of pages.
This guide is not a stress test for the maximum page size stated, it is just a short test to demonstrate that the tool works. If you have a complex document with bookmarks, forms or other interactive elements, use a sample of your document.
Before choosing any pages to extract, open your source PDF. Decide how many pages there are in total and which page you would like to extract. Sometimes there may be a discrepancy between the page number at the bottom of the page and the actual page number in the document. For example there could be a front page and contents page before page 1. Don’t assume the page number you have typed will be the correct page.
In our example we have kept it simple. The first page says PAGE 1 and the second PAGE 2. For a more complex document use the page navigation in your viewer, along with thumbnails to ensure you have the correct page. If you need to select multiple individual sections note down which pages you need.
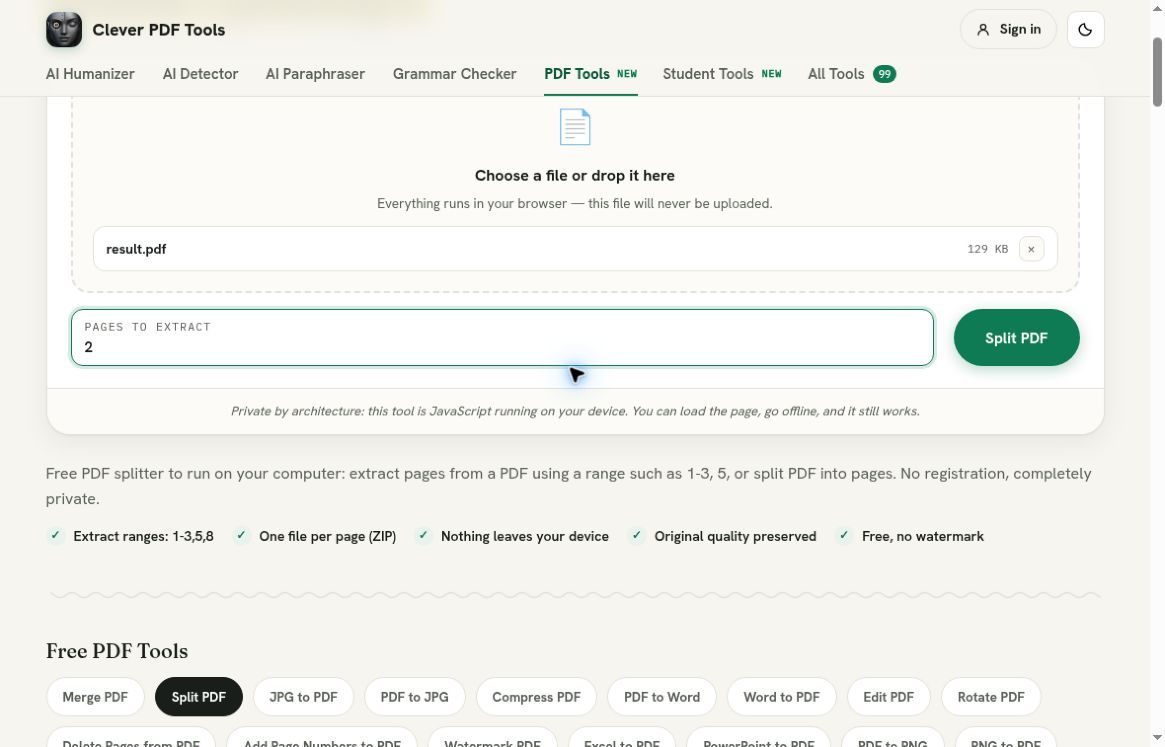
Click Add files and select your PDF. We have selected our result.pdf file which shows as 129KB. We have confirmed this is correct and entered ‘2’ into the Pages to extract box. The box has a prompt to show you examples of how to enter a range or list of pages. For this test we are just extracting one page.
Screenshot of the selected 2-page PDF with the Pages to extract box set to 2.
When extracting pages to create an excerpt, take care to ensure you are not misleading the reader by removing surrounding pages. If the heading or note isn’t on the same page as the table, answer or conclusion you may not have enough information. Ensure you have enough information for the recipient to understand the excerpt. You will still have a reference to the source. Splitting a document is just a file management tool and does not give you rights to republish information.
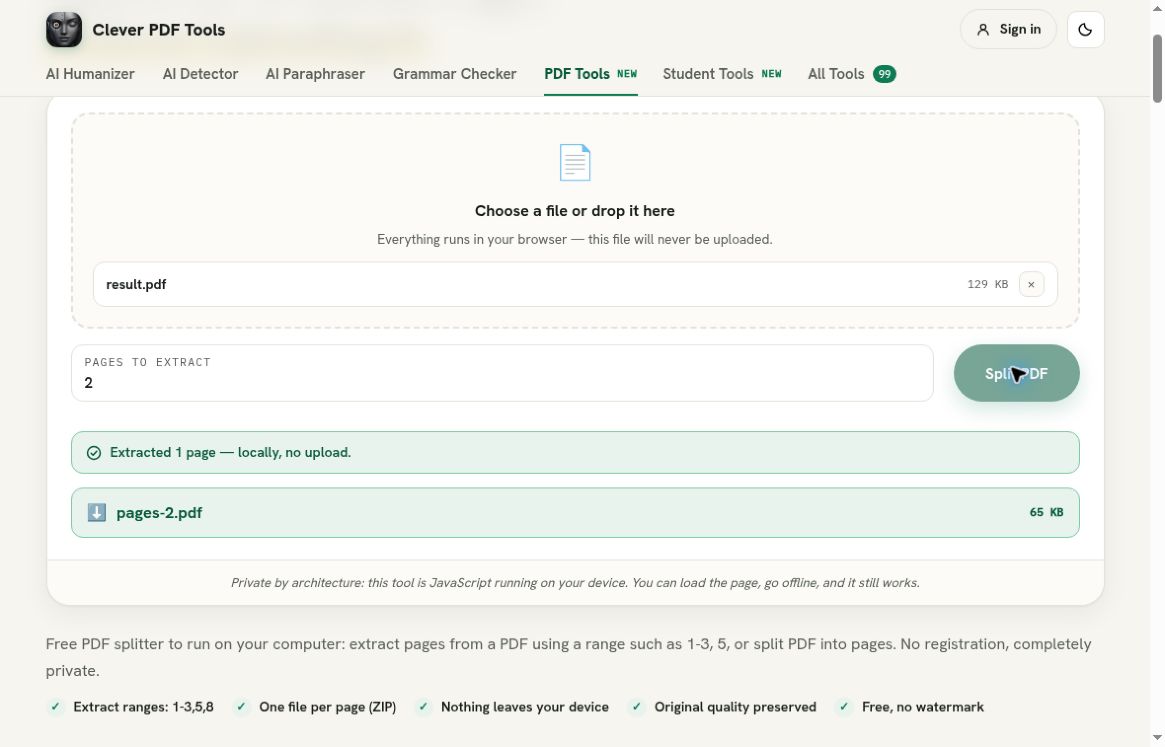
Click Split PDF with the page number entered. The tool will show you have extracted 1 page. It will also show you have no upload, just locally. You will have a link to download your pages-2.pdf file. We clicked the link to save our file.
Screenshot of the extracted page. Shows a link to pages-2.pdf and states 1 page has been extracted.
We have a single page PDF. It is 66,264 bytes in size. We have also confirmed the image is the same as the second page in our source. This is important as we would not know if we had the correct page if we just had 1 page. Our result is the correct length and content.
Open your downloaded excerpt and take a look. Check the heading, first and last line and any diagrams/tables. If you were expecting multiple pages, ensure you go through all of them. Whilst having the correct file name is useful, you should still check the content.
Save your excerpt with an appropriate name. Having a name such as practice-chapter-2.pdf will help you identify the file in the future. Don’t overwrite your original packet whilst you are working on it. This way you can recreate your selection if the recipient asks for another page or if you realise you have missed an important note page.
As mentioned in the message on the site, your file is processed locally.
Leave the range blank to split the entire document
Start with the same selected source. This time leave the Pages to extract box blank. As mentioned in the prompt, leaving this blank will split every page into an individual file.
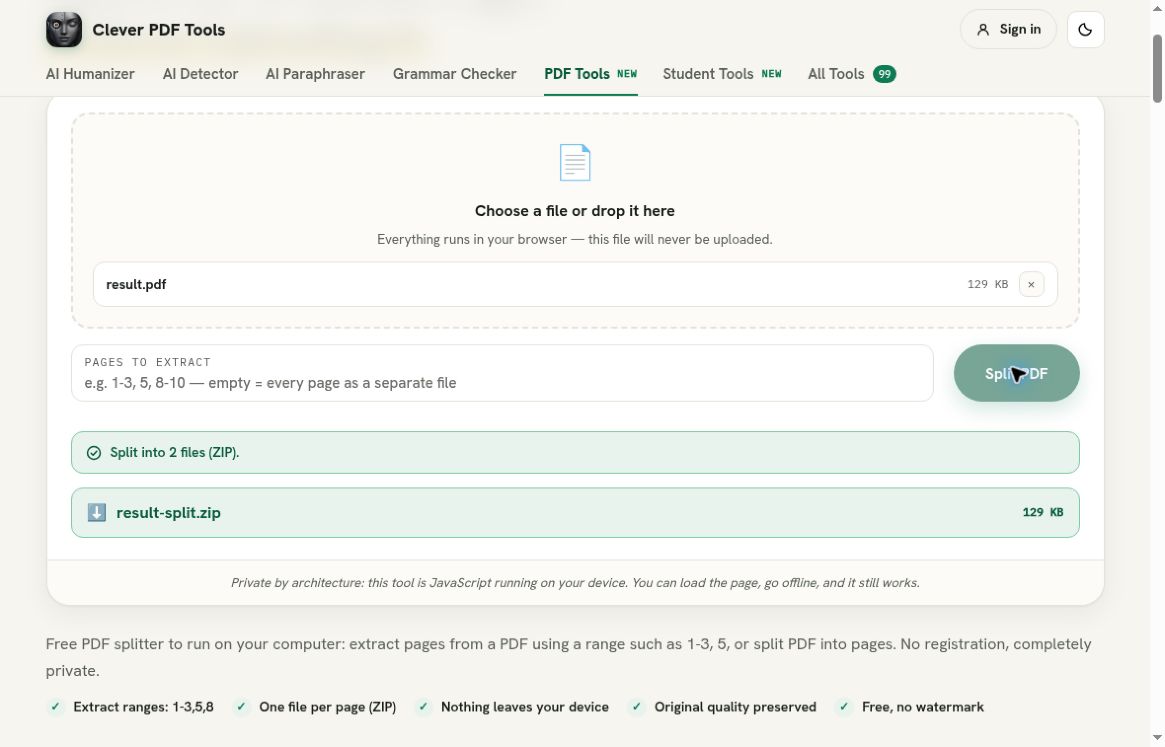
Click Split PDF. Once complete you will see “Split into 2 files (ZIP).” We have a link to download our result-split.zip file. We have saved our file.
Screenshot of the complete result with the range left blank. Shows a zip file with the 2 split files.
A zip file is just a collection of files. Use the usual method on your device to extract or open your archive. In our example we have 2 files, page-01.pdf and page-02.pdf. Both open as single page PDFs. Whilst the names make it easy to see the order we intended, you should still check the content.
Where possible extract to a new folder. This way you won’t have any confusion with previously split files. Save your archive until you have confirmed all the required files have been extracted. If you are going to rename your pages, ensure they are in an obvious order so you know the original order they were read in.
When extracting specific pages, you want to check you have the right amount of pages and the correct content. When splitting the entire document you also want to check you have the right amount of files. In our example we had 2 pages in our source so we have 2 files, both single pages. This is a good result.
If your source has text that can be selected, check you can select text in your extracted file. If there are links, bookmarks, annotations or forms in your source check these have been extracted. In our example we have images so we cannot confirm all interactive elements in a PDF will work. Just because the page looks correct doesn’t mean all document features will work.
Don’t get confused between extracting and redacting. Whilst you may be reducing the amount of information you are sharing by only extracting some pages, this is not a full check to ensure there is no private information in those pages or elsewhere in the metadata. Check the actual content you are sending and use the correct redacting process if you need to remove sensitive information. Don’t just hide the text you don’t want to show.
Also remember this is not a guaranteed compression tool. Whilst you may have less information in your excerpt, the aim of this tool is to select pages. If you have a file size limit on your portal, measure the size of your saved file. If you are going to compress your file at a later date, ensure you have a readability check.
If you have the wrong page, go back to your source and check the file position against the page number. This is often an easier fix than randomly trying different numbers in the range box. If you are missing a page you need, check the page you have entered and the total number of pages in your source.
If you cannot process your source, check it can be opened in a PDF viewer. If the document is damaged or protected you may need to carry out an authorised step to prepare it. Don’t remove any protections if you aren’t allowed to edit the file. Keep any error messages and don’t say you have successfully extracted if you haven’t.
Both options in this guide have given us a verified download. By entering ‘2’ we have a single page PDF with page 2 of our source. By leaving the box blank we have an archive with page-01.pdf and page-02.pdf. Both are single page PDFs. This shows you the difference between extracting and splitting.
Before sending your file(s), open them from where you have saved them. Check the names, order and content. Keep your original until the recipient has what they need. Try the tool here with your next packet. Enter the pages you want to extract or leave blank for individual pages.