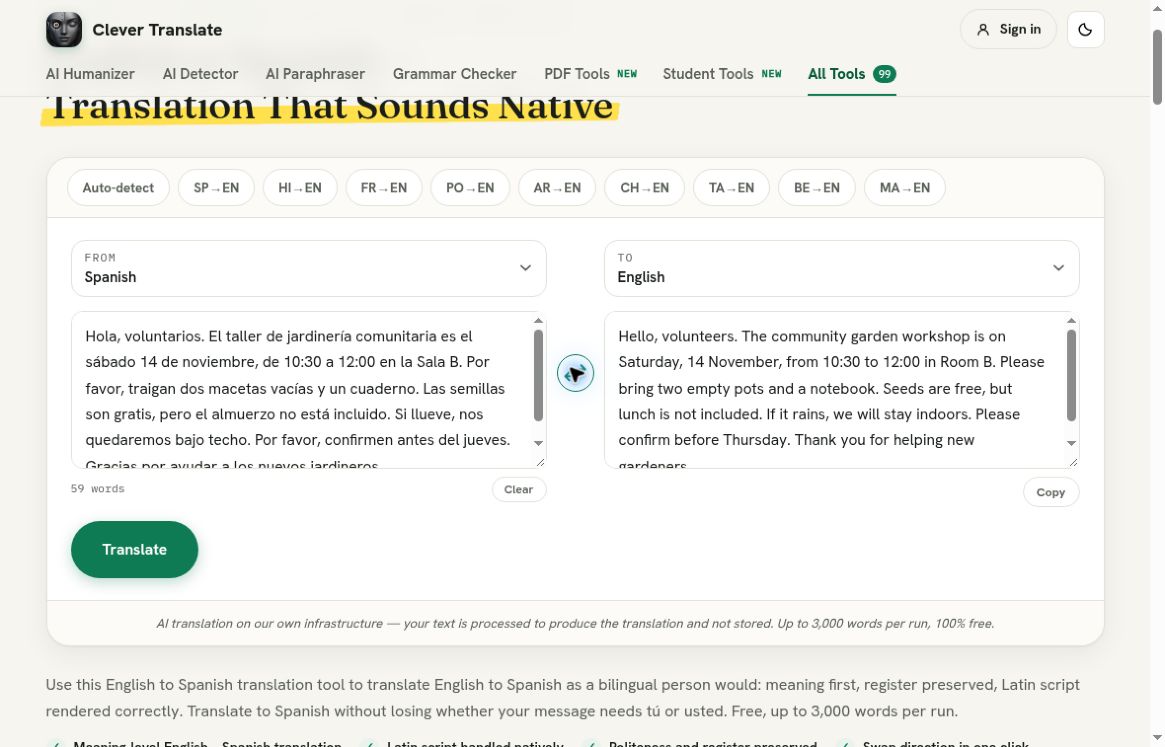
I’ll take you through a small community garden notification example. A good translation would include details such as when they should attend, what items they should bring, and what is included or excluded. This will be more important than trying to create an impressive sentence.
You can follow this through. This example has English as the source and Spanish as the target language. This is a fictitious example with no personal information. This walks through how to enter the message, view the translated message, and understand what the swap button does.
Start with your actual message
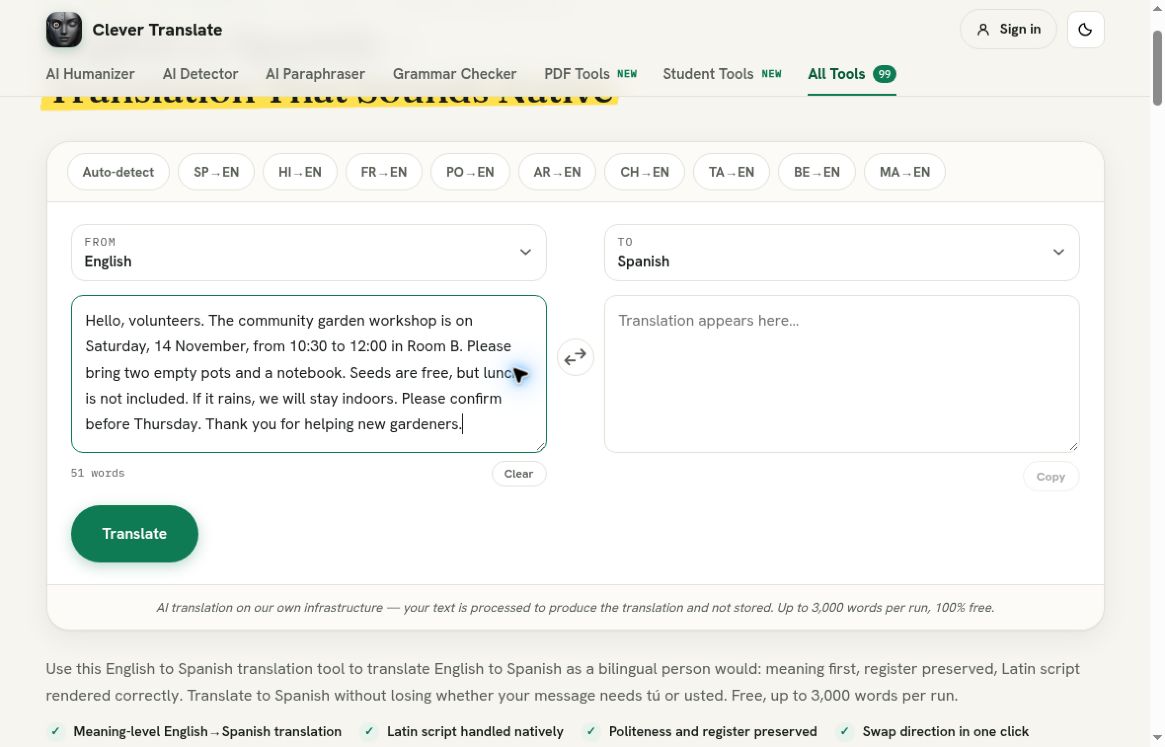
This will be using the full source text as seen in the screenshot below. If you want to see the exact same word counts and translation, use the exact words in the source text. This includes the event details, room, resources, weather and response deadline. If we paraphrased this, it could change the test. Specifically the deadline.
This short paragraph includes many useful pieces of information. The date, times (including a range), room name, quantity, exclusions, weather condition, and a deadline to reply. This makes it easy to check a translation is providing useful information. Having a short example with a few clear requirements makes it much easier to check.
Before adding your message, remove any information that shouldn’t be shared with an online service. This example uses fictitious information as it’s just for practice. Whilst this page states how the information will be processed and stored, this example is using a visible interface so it will not be an independent check on your privacy. Just because you successfully translated the message doesn’t mean it will be handled correctly in the background.
Enter your message
Once you’ve opened the page, check the language selectors at the top of the page. The left should say English and the right should say Spanish. Whilst the page includes a helpful heading, these selectors are useful to check. Especially if you’ve used the Swap function in a previous example.
Click inside the Source text field and type in your full paragraph. By keeping the sentences together you’re giving the tool context. In this example, the mention of a garden and seeds means we know the pots mentioned are for planting rather than cooking. You can either type directly into the field or add your text from somewhere else.
In my example there were 51 words in the source text. This is just what the tool displays and may not be the same as other word counting tools. The page mentions you can translate up to 3000 words each time. This example was well under that amount so wasn’t checked.
[Note: The source text has been added in English and the language pair selected as Spanish. The target text is blank.]
Translate
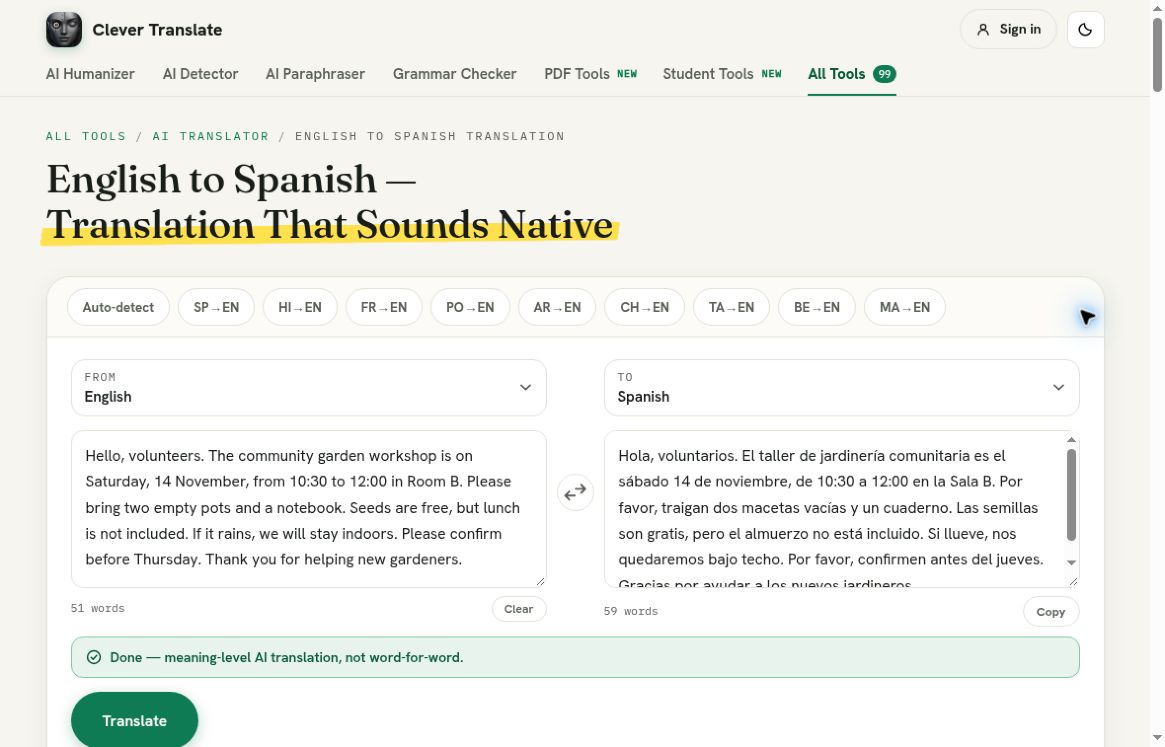
Once you’ve clicked the Translate button you’ll see a message stating it’s translating. The buttons will be disabled whilst it translates. Once it’s finished translating you should see a message saying it’s finished. In my example, there was a green message saying Done, the Spanish text had been filled, and the Copy button was enabled. From here you can start looking at the translated text.
View the translation
The translated text started with “Hola, voluntarios”. It had translated the workshop to “el taller de jardinería comunitaria.” whilst keeping the date (Saturday 14th November), time (10.30am to 12pm), and room (Sala B). It had also translated the request to bring two empty pots and a notebook to “dos macetas vacías y un cuaderno.”
We can see that the difference between free seeds and no lunch has been maintained. As well as the option to do it indoors if it rains. These can be directly compared to the screenshot of the result. The deadline can be seen in the next section. However, in our initial draft we were unsure about the deadline.
[Note: The translated text can be seen next to the source text. The language has been selected and the message says it’s finished.]
Whilst this example gave a useable draft translation, it does not mean it will always be accurate, sound natural, or suitable for all Spanish speaking audiences. This isn’t a professional language check and whilst the message was clear, a fluent person could still improve the tone, use of localised words, and how the message is delivered to those reading it.