You can make many changes to a short text such as changing the date, colour and room number. Using Text Compare, you can view all of these changes in one place. In this example we have created some fictional text and used 7 mini examples to see how the settings work.
Open the free tool and enter the information into the Original text and Changed text boxes. You will see boxes labelled ORIGINAL and CHANGED. Below this is a drop-down menu called Compare by. From here we can select what we want to compare. We’ll be comparing using Words, Lines and Characters. There are two tick boxes to select Ignore case and Ignore extra spaces. Finally there is a Compare button.
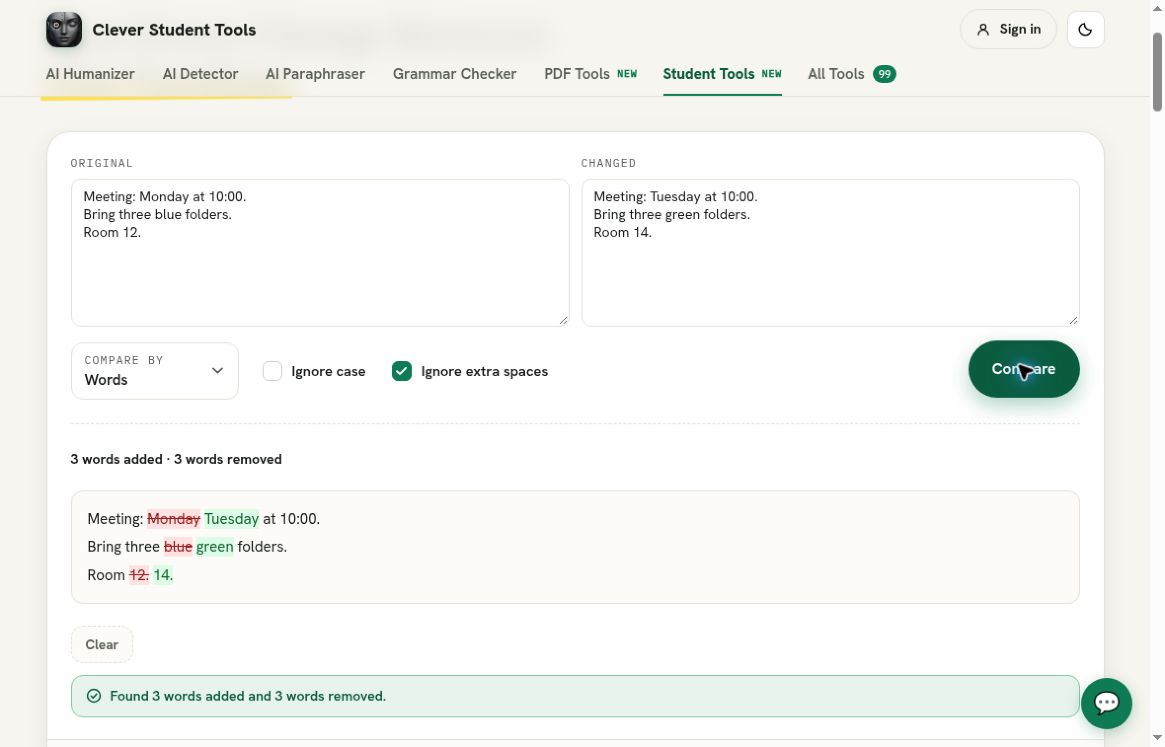
Click Compare. This will show ‘3 words added · 3 words removed’. We can now see the changes in the results box. The original text has all the changes in red with a line through them (Monday, blue, 12.). The new changes have been added in green (Tuesday, green, 14.). The time is unchanged. In this example there are three changes. Each pair has been changed from red to green. The date has been changed from Monday to Tuesday, the colour has been changed and the room number has been changed.
The numbers may be a bit confusing. However, you can see that for each of the three changes there is an item in both columns. This will show you exactly what has been removed and what has been added. Be sure to take a look at the highlighted text. It is also a good idea to check the numbers, as you may end up in the wrong room due to a small change.
Three word changes will be shown in red and green.
Compare an unchanged copy
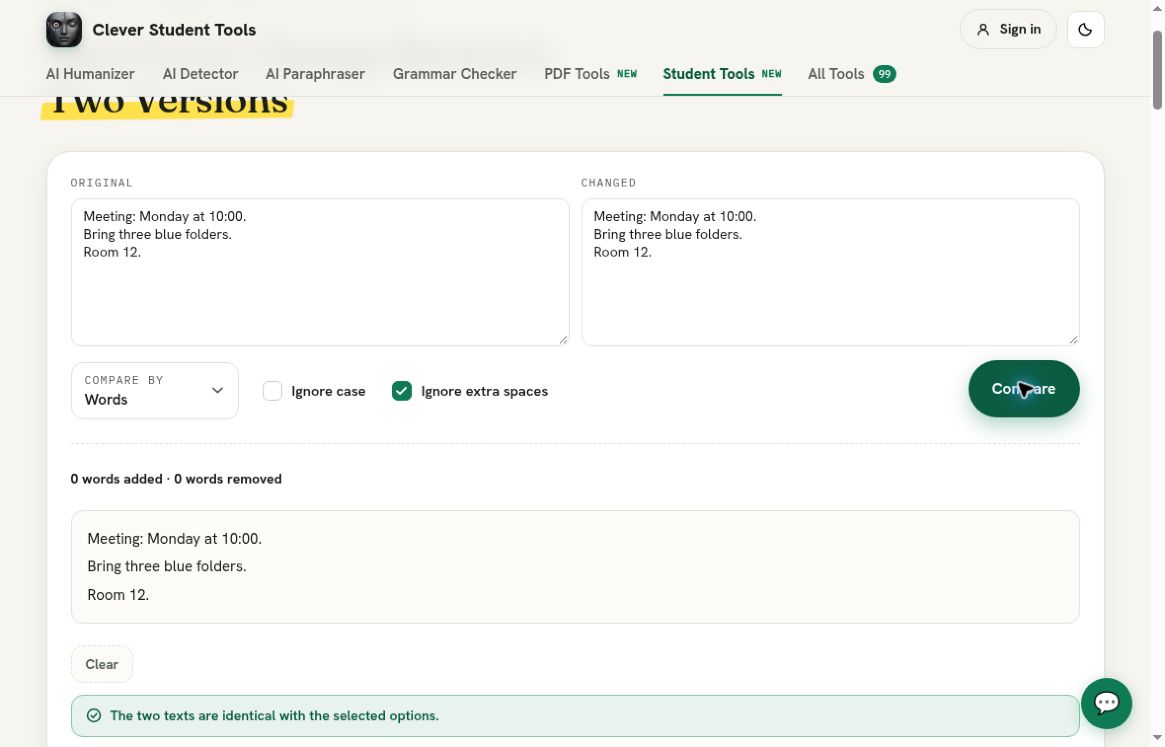
Enter the original 3 line meeting note into both boxes. Click Compare. This will show ‘0 words added · 0 words removed’ and that ‘The two texts are identical with the selected options’. The meeting note will show with no colour changes.
This is a good reference to have. We have seen an example with 3 substitutions and an example where the texts are the same. Remember that it says ‘with the selected options’. In our next example we will have the same message due to the spacing differences.
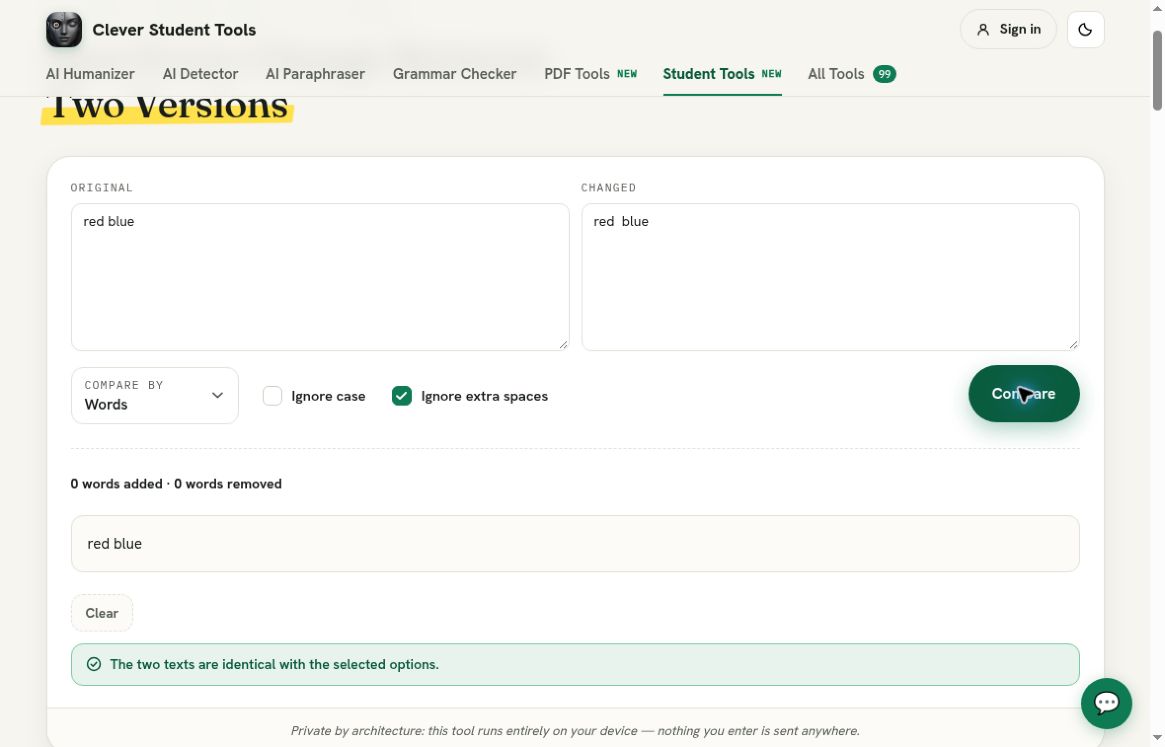
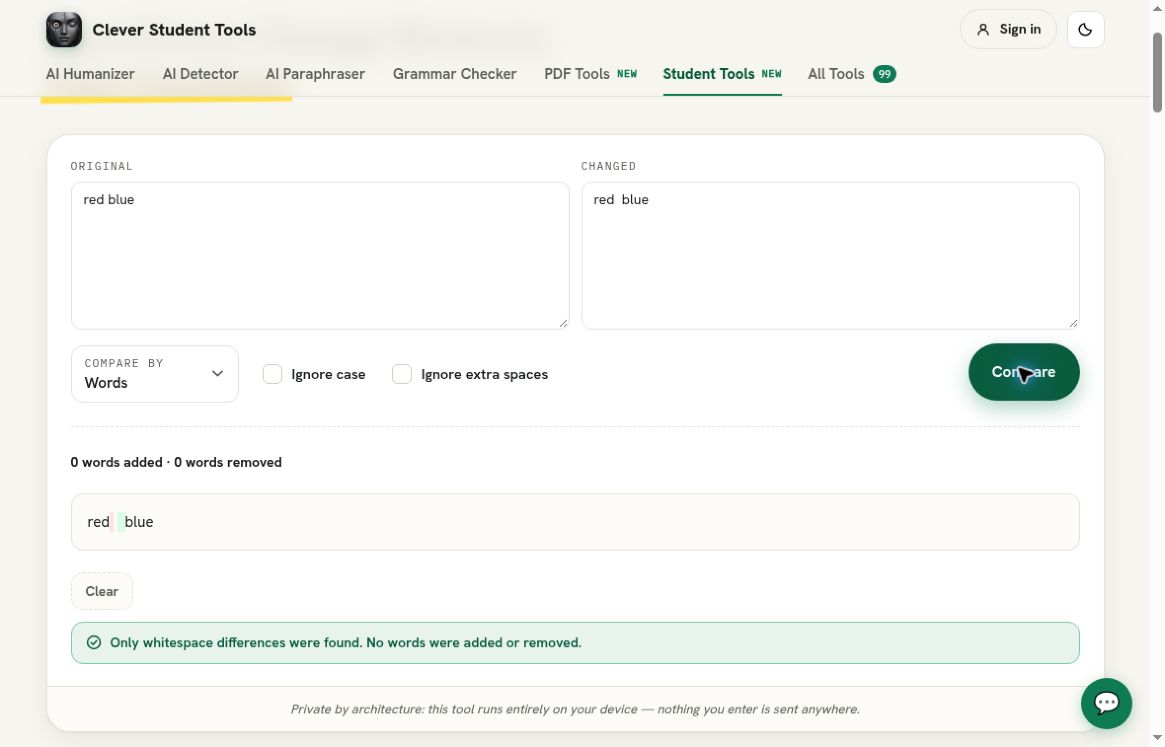
Sometimes you may find that there are 0 words changed. This can still show us some interesting changes. We will change the meeting notes to be much shorter. Enter ‘red blue’ into the Original text box with one space between the words. Enter ‘red blue’ into the Changed text box with two spaces between the words. The words are still spelled the same and in the same order.
Select Words from the Compare by drop down. Uncheck Ignore case and tick Ignore extra spaces. Click Compare. This will show ‘0 words added · 0 words removed’. It will then say ‘The two texts are identical with the selected options’. As we have ticked Ignore extra spaces we can see that the one space and two space versions are the same. In the results box the words will not have any colour changes.
This is a useful setting to use if you just want to know if there have been any changes to the wording. Maybe when you are checking the content of a copied note and don’t want to check the spacing. The key thing to remember is that you have intentionally chosen this option. The message will say the texts are the same due to the options selected for this comparison.
Don’t make any changes to the text. We will now use the exact same text. One space in the original text and two spaces in the changed text. This will make it much easier to see that the results are due to the option.
As Ignore extra spaces has been ticked the one space and two space texts are the same.
Uncheck Ignore extra spaces
Click ‘Compare’. The results say “0 words added · 0 words removed” but the text will say “Only whitespace differences were found. No words were added or removed”. You will also notice small coloured indicators in the space between the red and blue text. The results show one space was removed and 2 spaces added.
This is expected as the word count hasn’t changed. The difference is in the space between the two colours. It is important to read the text beneath to understand what has happened. If you only looked at the numbers you would not know the difference between the spaces being ignored and the difference being whitespace.
For your own testing, if you are not looking at extra spaces, leave the option ticked and run the compare. Once you have changed any options in this walkthrough, click ‘Compare’ again. This will show you the results of your options.
We saw how well the word option worked with our meeting note. However, the line option works well with short lists. Change the original text to:
Apples
Pears
Plums
And the changed text to:
Apples
Peaches
Plums
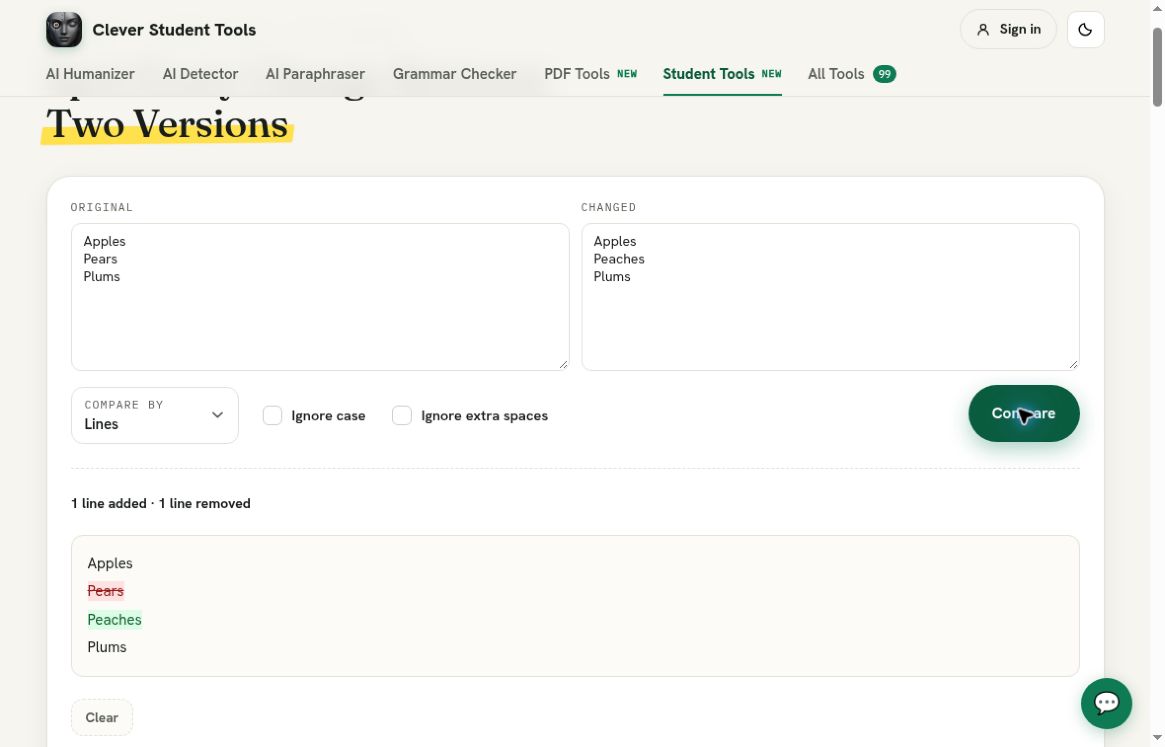
Now select ‘Lines’ from the drop down menu. Do not tick the Ignore case and Ignore extra spaces boxes. Click ‘Compare’. We can see that there has been 1 addition and 1 deletion. The top line remains ‘Apples’ and the bottom line remains ‘Plums’. The middle line shows that there has been a deletion (marked in red) of ‘Pears’ and an addition (marked in green) of ‘Peaches’.
This shows us that there has been a complete line change. If your list has one item on each line then this makes it easy to see where the line has changed. We can also see that the summary has changed to show us that we are looking at line changes.
Lines will show 1 line has been removed (Pears) and 1 line has been added (Peaches).
Look at capitalisation changes
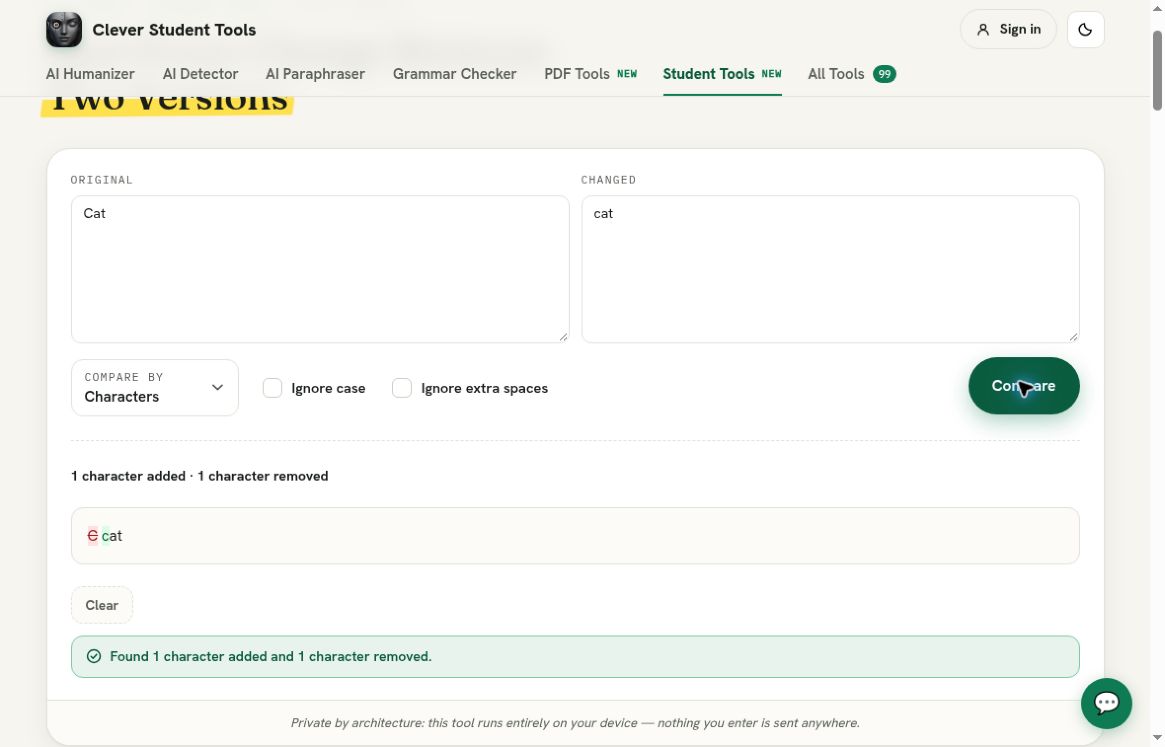
In your Original text type in ‘Cat’, in your Changed text type in ‘cat’. Tick the Characters option. Make sure both boxes are un-ticked. Click ‘Compare’. You will see the summary says “1 character added · 1 character removed”. The capital C has been crossed out in red and the lowercase c has been added in green. The letters at will remain the same.
This example has been kept short so you can see what part of your input has caused the results. Using the Characters option will show you what letter has been changed. If you need to look at capitalisation, make sure Ignore case is un-ticked. This will show you which letters have been highlighted.
Characters will highlight the capital C and lowercase c.
Look at ignoring case
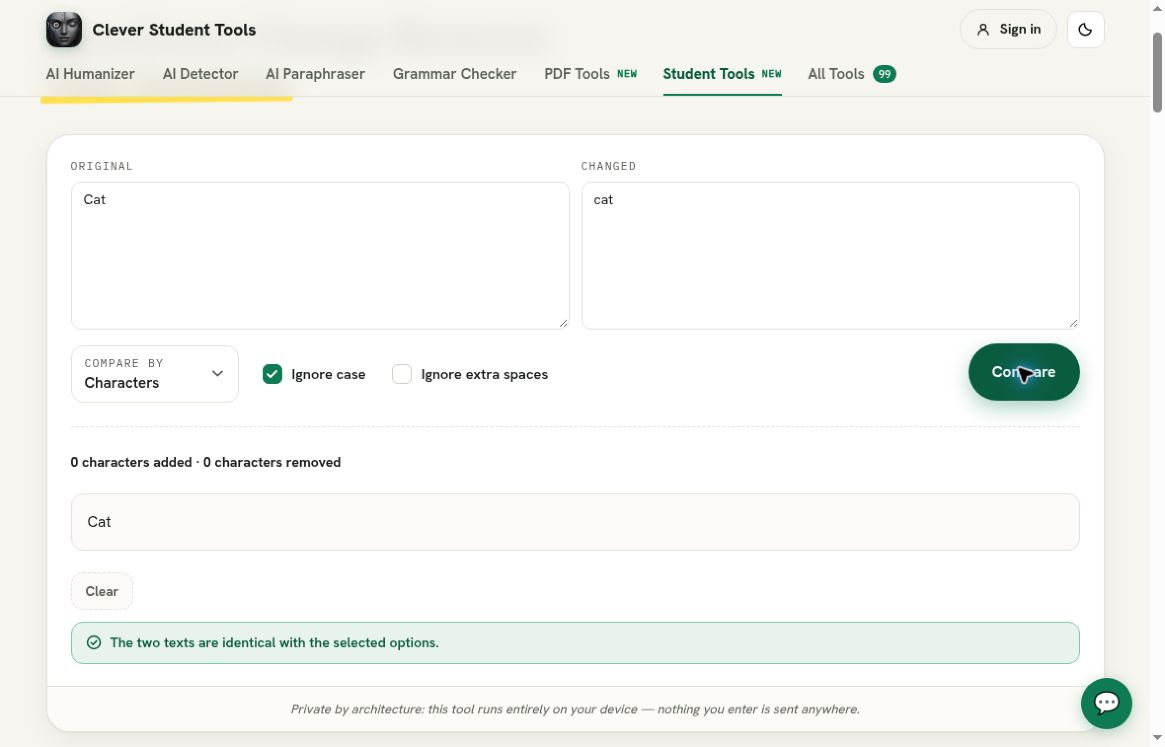
Leave Cat and cat in your boxes. Tick Ignore case. Click ‘Compare’. Make sure Ignore extra spaces is un-ticked. The results will show “0 characters added · 0 characters removed”. The text will say “The two texts are identical with the selected options”. The text will show Cat.
Overall, you can see there is a simple method to follow when looking at your changes. Ensure the previous and new text are in the correct boxes. Select the correct unit to look at. Be deliberate with your Ignore options. Click ‘Compare’. Look at the results. How many have been added/removed? Which part has been highlighted? What does the text below say? If you are surprised by the results, try changing one option at a time as we did with the spaces and capitalisation.